Skip to content
About
Contact
Cookie Policy
Copyright Policy
Disclaimer
Search
Home
Dinner
Appetizer
Desserts
Drinks
About
Contact
Privacy Policy
Toggle Menu
Home
/
Desserts
- Page 3
Desserts
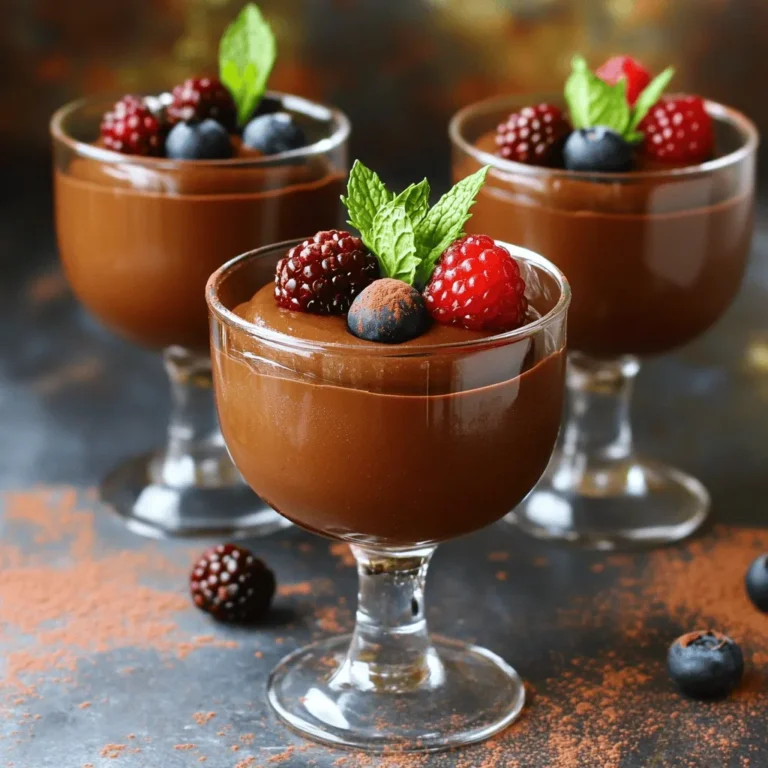
Vegan Chocolate Mousse Rich and Smooth Delight
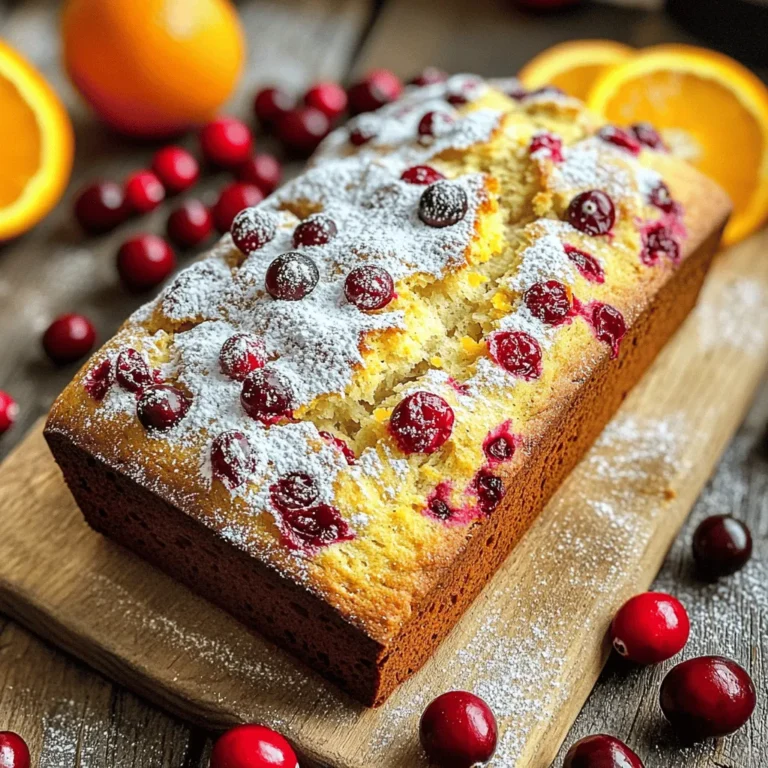
Cranberry Orange Bread Easy and Tasty Recipe
Zesty Lemon Bars Tangy and Refreshing Dessert Treat
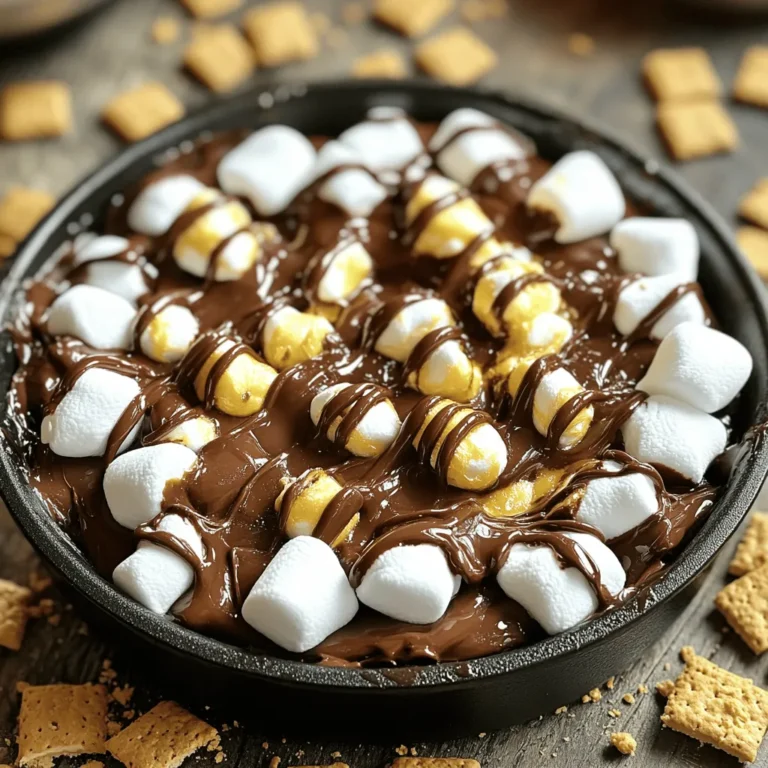
S’mores Dip Irresistible Treat for Your Gatherings
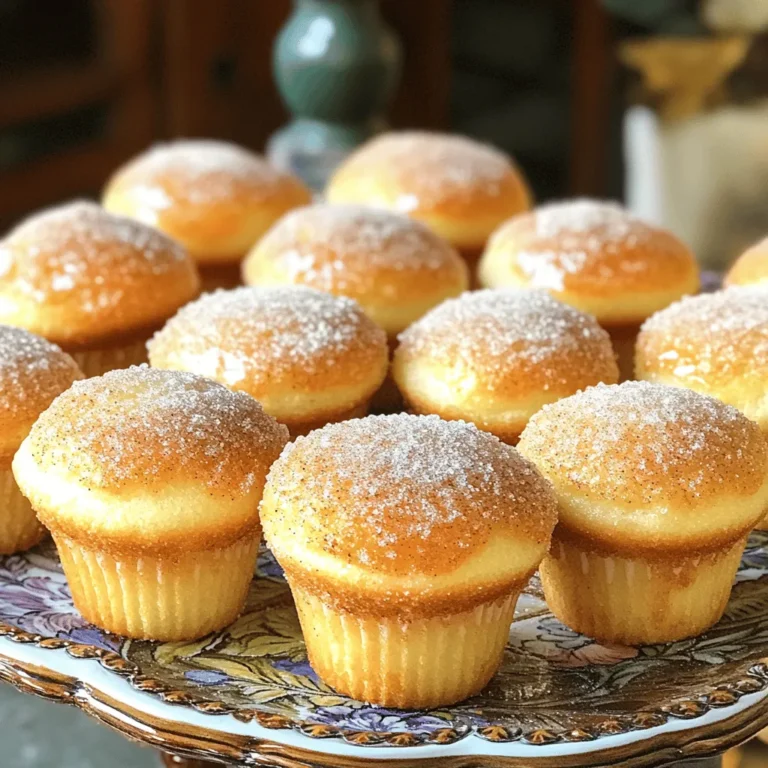
Cinnamon Sugar Donut Muffins Irresistible Flavor Boost
Page navigation
Previous Page
Previous
1
2
3
Home
Dinner
Appetizer
Desserts
Drinks
About
Contact
Privacy Policy
Toggle Menu Close
Search for:
Search

. To keep your zesty lemon bars fresh, store them in an airtight container. This keeps moisture out and helps maintain their delicious texture. Just make sure they cool completely before you seal them up. If you want to enjoy these treats later, freezing is a great option. Wrap each bar in plastic wrap, then place them in a freezer-safe bag. You can keep them frozen for up to three months. Just thaw them at room temperature when you are ready to eat. At room temperature, lemon bars stay fresh for about two days. If you put them in the fridge, they last longer. Lemon bars can stay fresh in the fridge for about a week. Refrigeration also helps keep their tangy flavor and firm texture. Always check for any signs of spoilage, like any off smells or changes in color. Enjoying them fresh is best, but proper storage keeps them tasting great for days! To make Zesty Lemon Bars less sweet, you can cut the sugar. Use less granulated sugar in the filling. Try reducing it by one-quarter cup. You can also add more lemon juice. This will keep the tangy flavor while lowering sweetness. If you want a different taste, try using a sugar substitute. Just make sure it’s safe for baking. You can use bottled lemon juice, but fresh is best. Fresh lemon juice has a brighter taste. Bottled juice may taste flat and less vibrant. If you choose bottled, look for one that is 100% juice with no added sugars. Fresh lemon juice gives your bars a more zesty kick. Always zest your lemons too, as it adds a great flavor. If you need alternatives to powdered sugar, here are some options: - Granulated sugar: It will provide a different texture. - Coconut sugar: This gives a slight caramel flavor. - Cocoa powder: This works well if you want a chocolate twist. - Ground nuts: Almond or hazelnut flour can add a nutty flavor. To check if your lemon bars are done, look for these signs: - The filling should be slightly set and not jiggly. - A toothpick inserted in the center should come out clean. - The edges might be lightly golden. Let them cool completely, as they will firm up more as they cool. Yes, you can add food coloring to your lemon bars. Use a few drops of yellow gel food coloring for a bright look. Mix it well into the filling before pouring it onto the crust. Be careful not to add too much. You want a light, natural hue without overpowering the lemon flavor. This article shared simple steps to make delicious lemon bars. You learned about key ingredients, from dry to wet. I provided clear instructions for both baking and cooling. Tips helped you avoid common mistakes, and variations opened new paths for creativity. Now, with these insights, you can confidently bake lemon bars that impress. Enjoy making and sharing this tasty treat!](https://tastyrecipes.blog/wp-content/uploads/2025/06/ef1860ba-700b-46e3-b1c0-c02c7cf6e412-768x768.webp)